This is the post for the Friday, September 4, 2015 class meeting.
Project 1 Rubric
 I updated the numbers, and I think they may work. We’ll find out when I start grading this weekend. Remember that the standards won’t change, but the rubric’s appearance and numbers may.
Project 1 Presentations
You will have about two minutes each to introduce yourself to the class and say a few words about your image. We’ll follow the order in the Discussions thread.
- Relax! You’re just talking to friends.
- Make eye contact with your classmates (Don’t stare at me).
- Tell us who you are.
- Explain what your image depicts (if it’s not obvious).
- Say a few words about why/how it represents you.
- Make sure I give you a "Like" on your image. That’s how I’ll track who has presented.
Homework
For Monday (9/7), have a pleasant day off. Be safe! Go Hokies!
For Wednesday’s session (9/9), do the following before class:
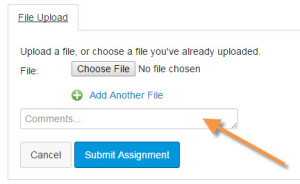
- If you haven’t submitted Project 1, please use the grace period to finish by 11:59 PM. Follow the submission instructions.
- Go to one of the Lynda.com tutorials linked below and watch a minimum of three videos of your choice (not all three courses):
- Look for advice on what makes a webpage/site work, and be ready to discuss what you found in class. Focus on general principles rather than any specific details on how to code something.
 I have added a rubric to the assignment in Canvas. As I begin using the rubric to grade your work, I may need to change the way it’s set up. It’s hard to tell whether it’s a workable tool in Canvas without using it.


 For today, you watched “
 Go to
Go to